Is your PC suddenly sluggish, with fans spinning loudly and apps taking forever to respond? If so, you’re likely dealing with high CPU usage in Windows 11 — a common problem that can grind even powerful machines to a halt. Whether you’re a home user or managing a fleet of workstations, pinpointing the cause is the key to restoring smooth performance.
In this guide, we’ll walk through practical, step-by-step solutions to fix high CPU usage in Windows 11. From Task Manager basics to advanced diagnostics, you’ll learn how to identify resource-hungry processes and apply lasting fixes — no expensive hardware upgrades required.
Introduction
High CPU usage in Windows 11 is one of the most common performance complaints reported by both home users and IT administrators. When a processor is pegged near 100 percent, the entire system becomes sluggish. Applications take seconds to respond, the fan spins constantly, battery life collapses on laptops, and remote desktop sessions become almost unusable. The good news is that high CPU usage is rarely caused by a single mysterious failure. In most cases it is the result of identifiable factors: background services, driver conflicts, Windows Update activity, indexing, malware, or power management misconfiguration.
This guide covers How to Fix High CPU Usage in Windows 11 in practical, step-by-step detail. It is written for beginners who need a clear path forward and for IT administrators who want a repeatable diagnostic and remediation procedure they can apply across many machines. Rather than asking you to reinstall Windows, the approach here focuses on diagnosing the actual consumer of CPU cycles, changing configuration to reduce load, and verifying that the fix holds under normal workloads.
One important note before you begin: the techniques in this article treat the operating system and its configuration as the “installation” target. Where you install or configure a tool, a driver update, or a system policy, the same compatibility and preparation rules apply. Always verify software compatibility with your hardware architecture (ARM64 vs x86). Keeping your operating system updated before installation prevents dependency conflicts. These two principles will save you hours of troubleshooting.

Prerequisites
Before making any changes, confirm that you have the following in place. Skipping these items is the fastest route to a failed fix or a system that will not boot.
- Administrative rights on the Windows 11 device. Many diagnostic and remediation steps require elevation.
- Windows 11 build information. Open Settings, go to System, then About, and note the OS build and system type (x64, ARM64).
- At least 15 GB of free disk space for updates, driver packages, and diagnostic logs.
- A reliable power source. Do not perform driver updates or system file repairs on a laptop that may hibernate mid-operation.
- Access to Task Manager, Resource Monitor, and Event Viewer. These are built into Windows 11 and require no extra download.
- Network connectivity for Windows Update and manufacturer driver downloads.
- A backup or restore point if you plan to change registry values or uninstall system components.
You do not need prior Linux experience to follow this guide. Every command and tool referenced is native to Windows 11 or available through standard Microsoft channels. IT administrators who manage fleets should also have access to Group Policy or Intune, and should record the baseline CPU behavior of a healthy machine for comparison.
Preparation
Preparation is where most successful fixes are won. Begin by establishing a baseline so you can prove that your changes actually reduced CPU usage. Open Task Manager with Ctrl+Shift+Esc, switch to the Performance tab, and observe CPU utilization for two to three minutes at idle. Then open the Processes tab and sort by CPU descending. Record the top five consumers and their average percentages.
Next, confirm the machine is fully patched. Go to Settings, Windows Update, and install all pending updates, including optional driver updates. Keeping your operating system updated before installation prevents dependency conflicts. This is especially important when you later install or update chipset, GPU, or network drivers, because those packages often depend on a specific servicing stack version.
Create a restore point so you can roll back if a change causes instability. Search for “Create a restore point” in the Start menu, select the system drive, and click Create. For administrators deploying across multiple machines, capture a system image or use a known-good configuration baseline instead.
Finally, verify compatibility. If you plan to install diagnostic utilities, firmware updates, or vendor management agents, check that the package supports your processor architecture. Always verify software compatibility with your hardware architecture (ARM64 vs x86). An ARM64 Windows 11 device cannot run x86 kernel drivers, and legacy monitoring agents built for x64 will either fail to install or cause exactly the kind of runaway CPU behavior you are trying to fix. Device Manager can confirm your architecture under the System devices and Processors nodes, and the Settings About page lists it directly.
Installation Steps
The following procedure is the core of this guide. Follow the steps in order. Each step builds on the previous one and ends with a verification point so you know whether to continue or branch into troubleshooting.
Step 1: Review prerequisites and compatibility
Reconfirm that you are signed in with an administrator account and that Windows 11 is activated and updated. Check your architecture one more time: press Windows key + R, type msinfo32, and look at System Type. Note whether it says x64-based PC or ARM64-based PC. If you intend to install any third-party utility, visit the vendor page and confirm an ARM64 or x64 build exists for your system. Incompatible software is a frequent hidden cause of sustained high CPU usage, so eliminating it now prevents a confusing result later.
Step 2: Prepare the environment
Disconnect unnecessary peripherals such as external docks, capture cards, and USB drives that may load background drivers. Put the machine on a wired network if possible, for stable update downloads. Close all non-essential applications so your CPU measurements reflect the system rather than your workload. Temporarily disable third-party antivirus real-time scanning only if you have a scheduled maintenance window and can re-enable it immediately afterward. For administrators, ensure the device is not simultaneously running a software deployment or compliance scan, because those processes will skew your baseline and may themselves be the CPU consumer.
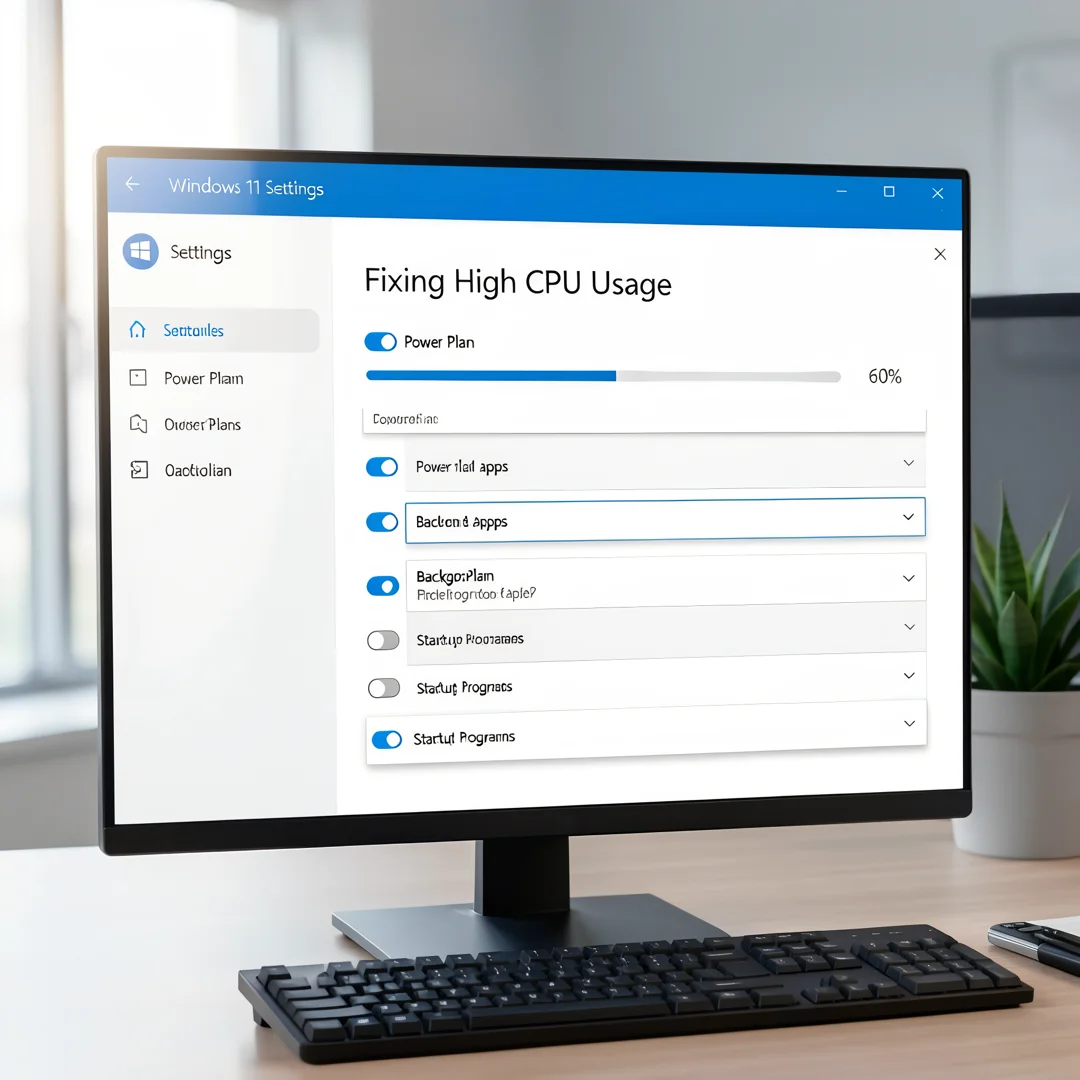
Step 3: Configure core settings
Adjust power and background settings that commonly drive CPU to 100 percent. Set the power plan to Balanced or, for desktops that need responsiveness, High Performance. Open Settings, System, Power, and set Power mode to Balanced. Under Background apps, disable apps you do not need running at startup. Then open Task Manager, Startup apps, and disable entries with High startup impact that you do not recognize or need.
Next, reduce background telemetry and indexing load. In Settings, Privacy and security, Diagnostic and feedback, set diagnostic data to Required only. Then open Indexing Options from the Start menu, click Modify, and uncheck folders that do not need to be searchable, such as large archive or development directories. Finally, check Windows Update delivery optimization: Settings, Windows Update, Advanced options, Delivery optimization, and turn off “Allow downloads from other PCs” if bandwidth or disk activity is contributing to system load.
Step 4: Run the main installation procedure
This step applies the actual remediation. Work through the following actions in order, measuring CPU after each group so you can attribute the improvement.
- Run a full malware scan with Microsoft Defender: Settings, Privacy and security, Windows Security, Virus and threat protection, Scan options, Full scan.
- Repair system files. Open Terminal as administrator and run sfc /scannow, then DISM /Online /Cleanup-Image /RestoreHealth. These repair corrupted components that can cause runaway service CPU usage.
- Update or roll back drivers. In Device Manager, expand Display adapters, Network adapters, and System devices. Right-click each and select Update driver. If high CPU began right after an update, choose Properties, Driver, Roll Back Driver.
- Address the Windows Update and Search services. If MsMpEng.exe, SearchIndexer.exe, or wuauserv dominate, let the machine idle for an hour to finish scheduled work, then tune indexing and scan schedules as in Step 3.
- Disable problematic startup services one at a time, using msconfig or Services, to identify a rogue consumer. Test after each change and re-enable anything that is not the culprit.
- For persistent cases, use Resource Monitor and Windows Performance Recorder to capture a trace and identify the exact thread and module consuming CPU.
Step 5: Verify the installation
Restart the machine and let it idle for ten minutes. Open Task Manager, Performance tab, and compare CPU utilization to your Step 2 baseline. A healthy idle Windows 11 system typically sits between one and five percent on modern hardware. Open the Processes tab and confirm that no single process exceeds roughly ten percent at idle. Repeat the measurement after launching a browser with several tabs and a productivity application, since some CPU spikes only appear under light real-world load. Record the results with a timestamp, which is essential for administrators who need an auditable change record.
Step 6: Configure post-install options
Lock in your improvements so they survive reboots and future updates. Keep the power plan and startup configuration documented. Set Windows Update active hours so heavy maintenance does not run during working hours. Configure Defender scan schedules to off-peak times. Re-enable any antivirus or management agents you disabled in Step 2, then re-measure CPU to confirm they are not reintroducing the problem. If you changed driver versions, create a new restore point so this known-good state is easy to return to.
Post-Installation
After the immediate fix, focus on keeping CPU usage under control over time. Establish a simple monitoring routine: check Task Manager once a week, or for managed fleets, collect CPU counters through Performance Monitor and alert on sustained utilization above an agreed threshold such as eighty percent for fifteen minutes.
- Keep Windows and firmware current. Apply cumulative updates monthly and firmware updates from your OEM only when they address known issues.
- Audit startup programs quarterly. Software installers routinely add background helpers that accumulate over time.
- Review scheduled tasks under Task Scheduler for third-party entries that run frequently.
- Ensure adequate RAM. Insufficient memory forces paging, which indirectly increases CPU time in the system process.
- On ARM64 devices, prefer native ARM64 builds of software. Emulated x64 applications can consume disproportionate CPU, especially browser extensions and sync clients.
- Document every change, including driver versions and service states, so future troubleshooting starts from a known baseline.
You now have a complete workflow for How to Fix High CPU Usage in Windows 11. Keep your system updated, monitor resource usage, and revisit this guide when software versions change.
Next steps: harden your server firewall, set up automated backups, and explore related tutorials linked above.
Leave a Reply