Running out of disk space on your PC can slow down performance, block Windows updates, and leave you scrambling before a big project. Whether you are a beginner tidying up a personal laptop or an IT administrator managing dozens of workstations, knowing how to free up storage space on Windows 11 safely is an essential skill that saves time and prevents costly mistakes.
This guide walks you through proven, low-risk methods—from built-in tools like Storage Sense to advanced cleanup techniques—so you can reclaim gigabytes without deleting anything important. Let’s dive in and get your drives back in shape.
Introduction
Windows 11 ships with a lot of features, and it also accumulates a lot of data over time. Between Windows Update caches, temporary files, old drivers, upgrade leftovers, and application data, a modern PC can quietly lose tens of gigabytes of usable space. For beginners, the goal is simple: reclaim space without breaking anything. For IT administrators, the goal is to do the same thing reproducibly, at scale, and without introducing risk to production machines. This guide covers How to Free Up Storage Space on Windows 11 Safely in practical, step-by-step detail, focusing on native tools, safe deletion targets, and verification steps that confirm you did not remove something the system still needs.
The storage problem on Windows 11 has a few predictable sources. Component Store (WinSxS) backups, hibernation files, paging files, System Restore points, Delivery Optimization caches, and per-user temp folders all consume space even on a healthy machine. Add large application caches such as browser profiles, Teams or OneDrive sync folders, and local virtual machine images, and a 256 GB drive can fill up in months. The safe approach is to identify what is actually consuming space first, then remove only regenerable or optional content.
There are two broad categories of cleanup: system-managed data and user-managed data. System-managed data includes Windows Update cleanup, previous Windows installations (Windows.old), and the component store. User-managed data includes Downloads, Recycle Bin, app caches, and personal media. Windows 11 provides Storage Sense, Disk Cleanup, and the Settings > System > Storage page for the first category, and manual review for the second. Both beginners and administrators should prefer these built-in mechanisms because they respect file ownership, handle locked files, and avoid the classic mistake of deleting a file the OS expects to find later.
This article is written for two audiences. If you are a beginner, follow the steps in order and stop when you have enough free space; you do not need to complete every step. If you are an IT administrator, treat the steps as a repeatable procedure you can script with PowerShell and deploy through your management tooling. Throughout, we emphasize verification: before and after free-space measurements, event log checks, and confirmation that critical services still start after cleanup.
Prerequisites
Before you delete anything, confirm you have the basics in place. Rushing past this stage is the leading cause of accidentally removed data.
- Administrative access: Most cleanup operations require a local administrator account or elevation via UAC. Some, such as compacting the component store, require an elevated Command Prompt or PowerShell session.
- Windows version: Confirm you are on Windows 11 (Settings > System > About). Features such as Storage Sense and the modern Settings storage page differ between Windows 10 and 11, so this guide targets Windows 11.
- Architecture awareness: Always verify software compatibility with your hardware architecture (ARM64 vs x86). Cleanup tools, disk utilities, and any third-party software you install to analyze disk usage must match your device architecture, especially on Surface Pro X, Snapdragon X Elite laptops, and other ARM64 devices.
- Backup: Have a recent backup of important data. File History, OneDrive, or a full image via your preferred backup product is sufficient. Cleanup should never be your first line of defense against data loss.
- Free space baseline: Record current free space. Open File Explorer, click This PC, and note the free space on your system drive. You will compare against this later.
- Power and network: Keep the device plugged in and online if you plan to run Windows Update cleanup, since some components are re-downloaded on demand.
Preparation
Preparation reduces the chance that a cleanup step breaks an application or removes a file you still need.
Step 1: Review prerequisites and compatibility
Re-read the prerequisite list above and confirm each item. Check that your user account is a member of the local Administrators group by running net localgroup Administrators in an elevated Command Prompt. Confirm your Windows build number with winver. If you intend to use any third-party disk analysis tool, download the correct architecture build: x64 for most Intel and AMD systems, ARM64 for Snapdragon-based devices. Installing an x64 tool on an ARM64 machine may work through emulation, but some low-level disk tools will not, so check the vendor’s documentation first.
Step 2: Prepare the environment
Keeping your operating system updated before installation prevents dependency conflicts. Run Windows Update until no updates are pending, then reboot. This ensures the cleanup tools themselves are current and that any pending servicing operations have completed. Next, close applications that hold large temporary files: browsers, Office apps, sync clients such as OneDrive, and any running virtual machines. Create a System Restore point as a safety net. In the Start menu, search for “Create a restore point,” select your system drive, and click Create. Finally, decide your cleanup scope. A beginner might target only temp files and Downloads. An administrator might plan a broader pass including component store cleanup and Windows.old removal, documented for change control.
Step 3: Configure core settings
Configure the tools you will use so they behave predictably. Open Settings > System > Storage and turn on Storage Sense. Click Storage Sense settings and configure it to run weekly, delete files in the Recycle Bin after 30 days, and delete files in Downloads only if they have not been opened for 60 days. These defaults are conservative and safe. If you are an administrator preparing a scripted cleanup, open an elevated PowerShell window and confirm you can query disk usage with Get-PSDrive -PSProvider FileSystem. Review scheduled tasks under Task Scheduler Library > Microsoft > Windows > DiskCleanup to understand what already runs automatically, so you do not duplicate work.
Step 4: Run the main installation procedure
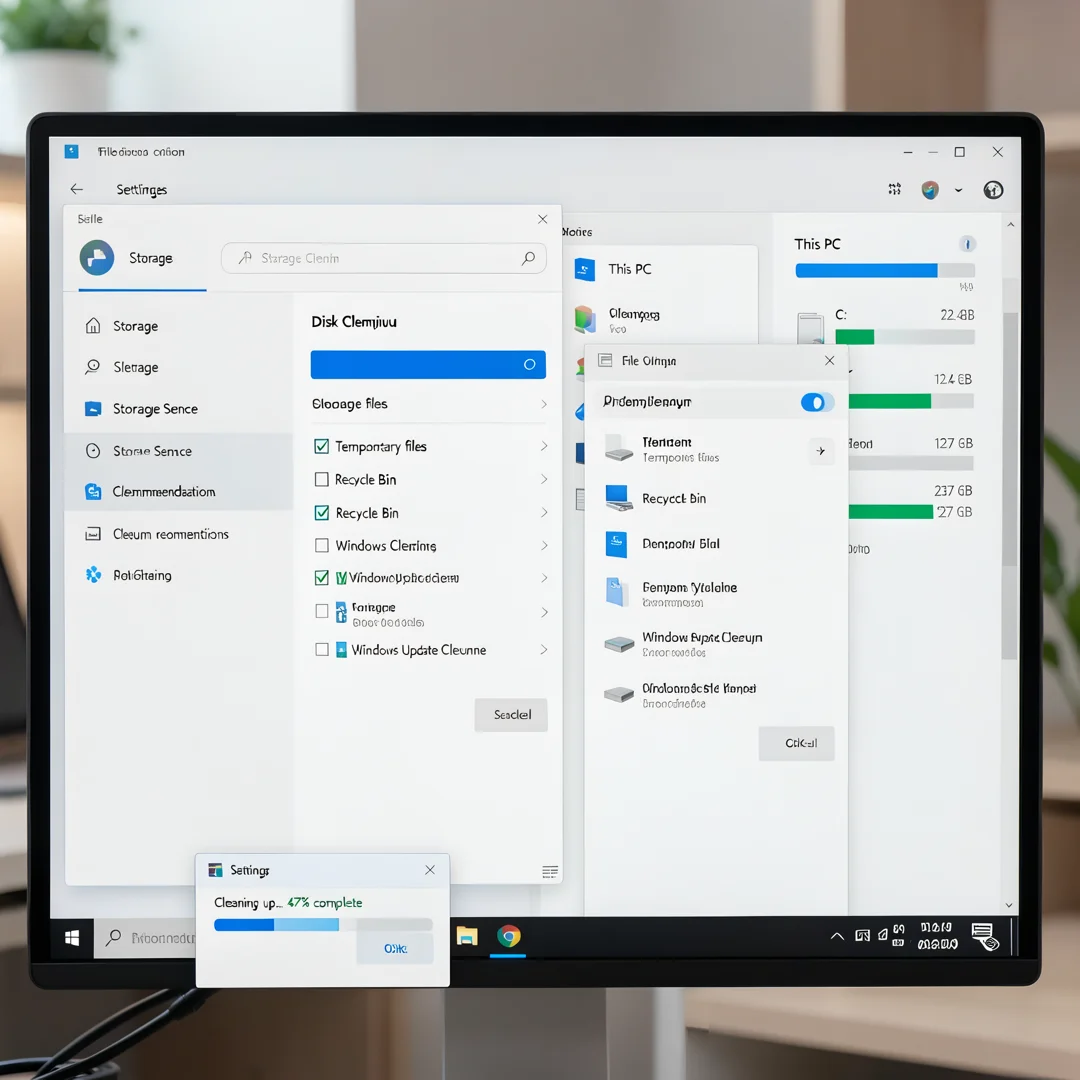
This is the core cleanup sequence. Follow it in order, checking free space after each major action.
- Empty the Recycle Bin: Right-click the Recycle Bin and choose Empty Recycle Bin. Confirm the operation. This is the simplest and often largest single recovery.
- Run Storage Sense manually: Settings > System > Storage > Storage Sense > Run Storage Sense now. This clears temp files and thumbnails.
- Use Disk Cleanup as administrator: Search for “Disk Cleanup,” right-click, and select Run as administrator. Select your system drive. Click Clean up system files to reveal advanced categories such as Windows Update Cleanup, Previous Windows installations, and Delivery Optimization Files. Select only categories you understand. Avoid “Downloads” unless you have reviewed that folder.
- Clean the component store: In an elevated Command Prompt, run DISM /Online /Cleanup-Image /StartComponentCleanup. This removes superseded component versions without removing the ability to uninstall recent updates.
- Uninstall unused applications: Settings > Apps > Installed apps. Sort by size and remove programs you no longer use. For administrators, use Get-AppxPackage and Remove-AppxPackage to audit and remove provisioned apps system-wide, testing on a pilot ring first.
- Review large personal folders: Use Settings > System > Storage > Cleanup recommendations to surface large files and unused apps. Review before deleting; suggestions are not always safe to act on blindly.
- Relocate user data: Move media libraries, virtual machines, and project folders to a secondary drive or external storage. Update any application paths that reference the old location.
- Reduce reserved and system files: If you do not use hibernation, disable it with powercfg /hibernate off in an elevated prompt to reclaim the hiberfil.sys space. Adjust System Restore disk usage under System Protection if restore points are consuming excessive space, but keep at least one recent point.
Step 5: Verify the installation
Verification confirms the cleanup worked and did not break anything. Start by comparing free space. Open File Explorer > This PC and compare the current free space to your baseline from the prerequisites. A successful beginner pass typically reclaims 5 to 30 GB; enterprise machines with years of accumulated updates can release considerably more.
Next, confirm system health. Run DISM /Online /Cleanup-Image /ScanHealth in an elevated prompt to verify the component store is intact. Run sfc /scannow to check protected system files. Both should report no integrity violations. Open Event Viewer and check the System log for errors in the last hour, particularly around servicing and disk operations. Launch two or three of your most important applications and confirm they start normally. Reboot once and confirm the system comes back up cleanly. For administrators, capture the event log and disk reports as evidence in your change record.
Step 6: Configure post-install options
With space reclaimed, set up ongoing maintenance so you do not repeat this process manually every few months. Confirm Storage Sense is enabled and scheduled. Set your Recycle Bin size to a reasonable limit, such as 5 GB, through Recycle Bin Properties. Configure Windows Update cleanup to run automatically via the built-in Disk Cleanup scheduled task. For administrators, build a quarterly maintenance script that runs the DISM component cleanup, reports free space, and emails the results. Document which cleanup categories are approved for your environment and which require change approval. Finally, consider enabling OneDrive Files On-Demand so cloud files do not permanently occupy local disk space.
Post-Installation
After cleanup, a few housekeeping items keep the system healthy. Review your backup schedule and run a backup now that the disk reflects your intended state. Check that Windows Defender or your endpoint protection still updates and scans normally, since aggressive temp file removal occasionally disrupts a pending scan. If you disabled hibernation, confirm you do not rely on Fast Startup, which also uses hiberfil.sys; re-enable hibernation if you need that feature. On enterprise devices, verify that your management agent and compliance checks still report healthy after cleanup.
Monitor free space over the following weeks. A drive that refills rapidly indicates a misbehaving application writing excessive logs or a sync client duplicating data. Tools such as the built-in Storage page and, for administrators, performance counters on logical disk free space, help catch this early. Establish a threshold, for example alert when less than 15 percent of the system.
You now have a complete workflow for How to Free Up Storage Space on Windows 11 Safely. Keep your system updated, monitor resource usage, and revisit this guide when software versions change.
Next steps: harden your server firewall, set up automated backups, and explore related tutorials linked above.
Leave a Reply